Friday, 30 April 2021

Lets Buy and Renovate: Salt Spring Island

My other passion besides design is real estate.  I've been following real estate in my hometown as well as abroad for over a decade and thought it be fun to find a property available on the market and how I could put my creative stamp on it.


Today I'm taking you to Salt Spring Island, which is right across a water passage from where I am on Pender Island, in the tranquil Southern Gulf Islands of British Columbia.  This property has amazing wood paneled walls and vaulted ceilings!  It even has an ocean view on .78 acres!  Come, let's take a look.  

This home has great bones. How beautiful are these wood paneled walls?!  I really like the dark painted wall in the living room too.  

Here's how I'd refresh the living room space. . .


SHOP THE LOOK

sofa  |  lounge chair  |  coffee table  |  curved stump  |  jute rug  |  woven rug  |  wall art  |  vase  |  olive tree


This dining space looks very chic already especially with that vaulted ceiling.  I could image a big pendant hanging here!  To maximize the space I'd add a larger dining table and a closed storage sideboard...just so clutter could be hidden away.


SHOP THE LOOK


Okay...Are you still with me?  I could already see myself living here!  Could you?  This room has loads of potential and that arched niche is hollering for a custom built-in to maximize its space!  I would paint all the wood paneled walls and ceilings throughout the house white, maybe keep the beams in their original state and replace all the wall to wall carpet with oak hardwood.


See the full listing here.  And if you buy it, please let me know!
 

I offer e-Advice with digital design concepts as well as Ask A Designer video consultations here.

Collages and story by Jennifer Kucherka
Photography by Macdonald Realty Salt Spring Island
Photo of arched built-in by Room For Tuesday

Sunday, 28 March 2021

DIY | CUSTOMIZING AN IKEA WINDOW SHADE WITH BLACK OUT LINING


In my last post, I customized an IKEA RINGBLOMMA window blind for my home studio.  Today I am sharing how I customized the same window blind with black out lining in my master bedroom.  My master bedroom needed a little more light blockage from the moonlight and the summer sun.  So, I thought of a way to install a removable black out fabric to my existing window blinds.

I purchased an extra IKEA RINGBLOMMA blind so I could use the magnetic strips that are included (for easy opening and closing of the blind) for the black out fabric.  I used three of the magnetic strips (because I have three blinds) from this blind and was left with an extra window blind.  I didn't want to waste this blind, so I customized this blind too for my laundry room using the same instructions from my last post


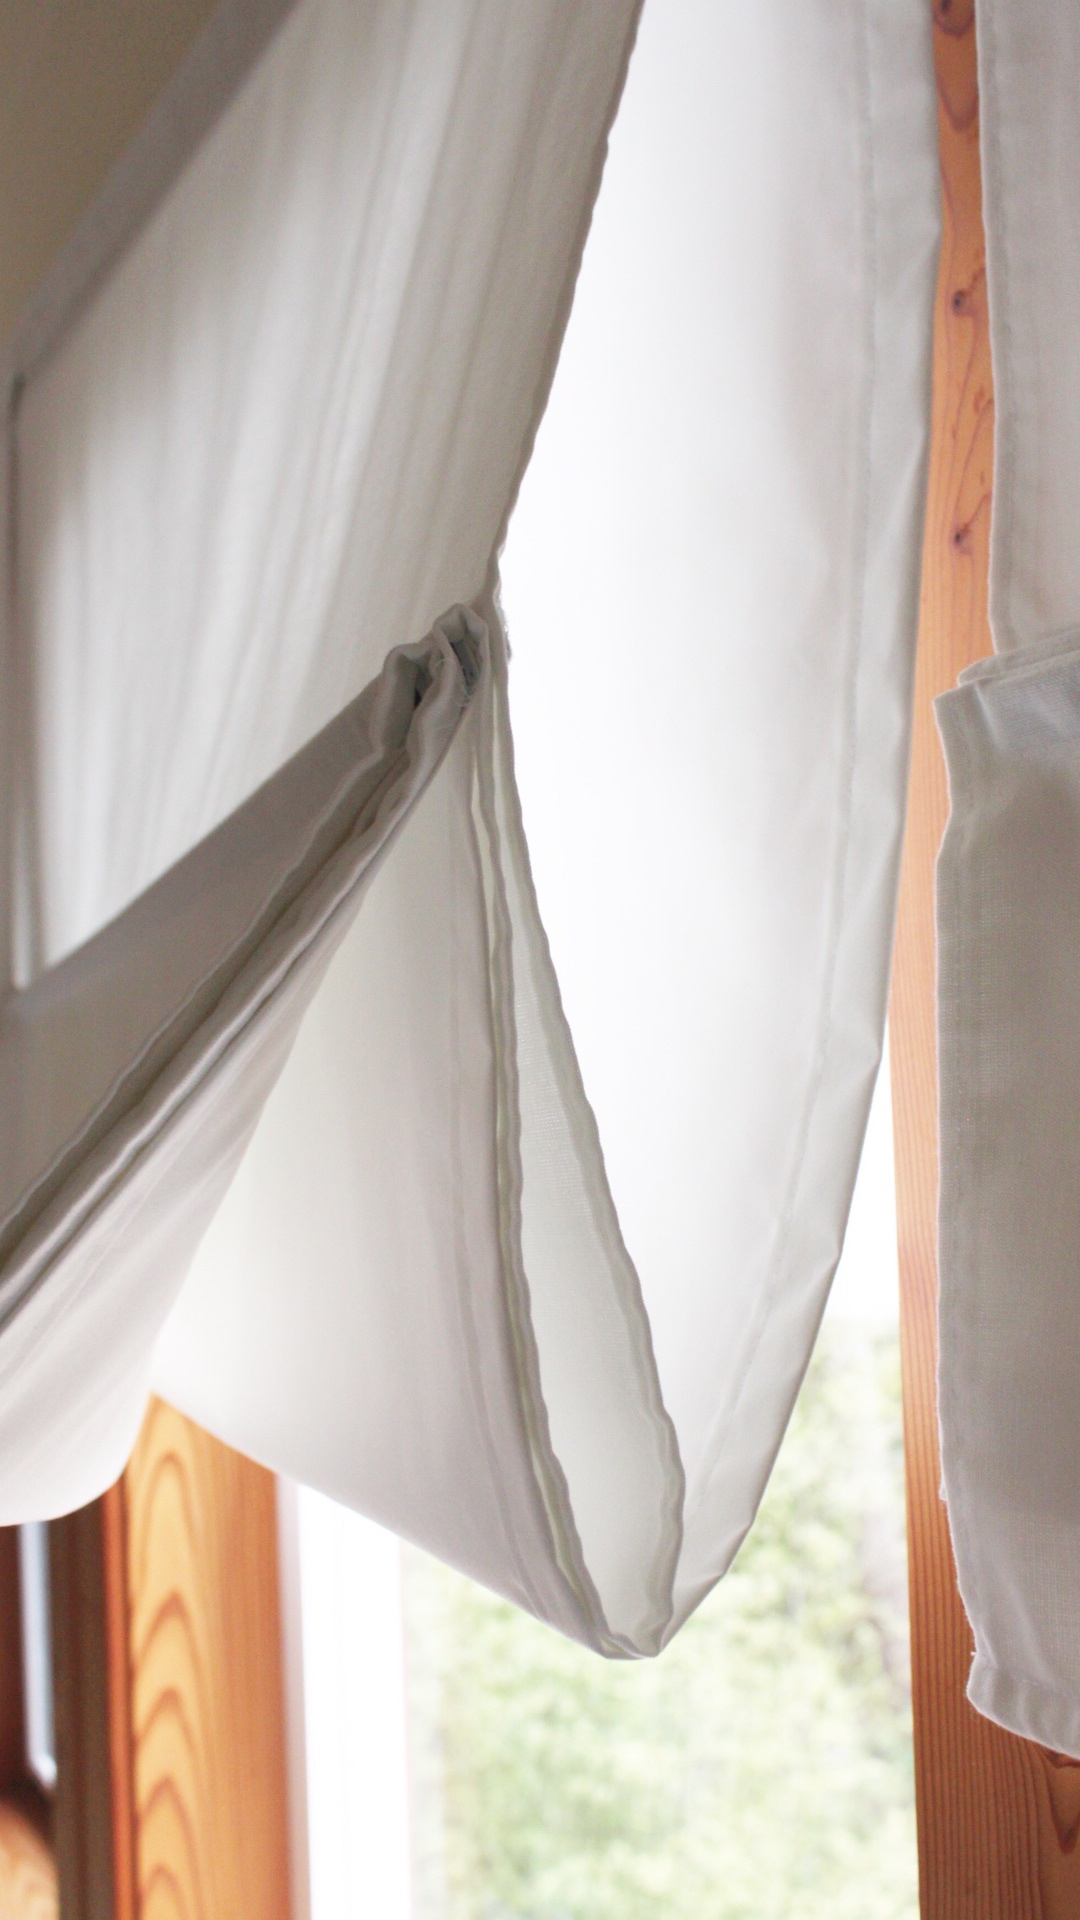
In the above photo I sewed a pocket at the top of the black out fabric so the magnetic strip could be slipped into place.  I then attached the lining at the back of the window blind.


I attached the lining at the back of the blind so it could be opened during the day.  I used a thin white black out fabric so the magnet would hold both the blind fabric and black out lining together.


Thanks for reading, Jennifer
 

Friday, 30 October 2020

DIY | CUSTOMIZING AN IKEA WINDOW SHADE


The Lakefront Cottage didn't come with window coverings when we moved in last November.  The clean look was tempting at first. I loved the craftsmanship that went into building the window frames.  But, while settling into our new home, we quickly discovered that privacy as well as keeping summer sun and autumn chills out was vital.
Years ago I found a Canadian company that make shades from your measurements.  Q Design Centre was going to be the go-to for all the cottage's window coverings.  Except, I didn't have the budget for it until later on.  In the meantime, I researched how I could come up with a way to duplicate the same look without sacrificing the quality because of my budget.
I was very familiar with IKEA's RINGBLOMMA blind from my days working there as an interior designer.  I always loved its simplistic style and ease of install.  It can be mounted inside or outside of a window frame.  I purchased it to see how I could hack it into a custom looking shade.  It required a few simple skills and overall very easy to achieve.  

Supplies needed:
 - sewing machine
 - hand saw
 - scissors
 - pencil
 - straight edge

Remove all hardware from shade.  This includes the magnetic plastic strips, top and bottom plastic pieces and metal eye-hooks.  All you should be left with is just the fabric shade.


Measure the inside of your window.  This will be the measurement of the finished shade.  Allow for seam allowance.  Work out how much of the shade needs to be cut.  My measurement worked out to be 6.5cm.  You will only have to cut one side of the shade.  

TIP-cut from the side of the shade that has a solid seam...(keep the seam that has slits for the magnetic strips).  

Mark your measurement to be cut off and draw a line using your straightedge.  Cut and recycle the access shade.


Now it's time to hem the side.  I doubled my seam using 2x 2cm to match the rest of the shades seams.  Cut all plastic pieces so they slide back into the shade.

TIP-cut the magnetic strips from both ends, this way you'll avoid cutting the magnet!  

Sand off the edges to remove any sharp ends.  Place back together and hang with included eye-hooks.


I ended up saving $500 on just one shade!  And I am so pleased with the result.
What window covering hacks have you've done?  I'd love to hear from you!

Thanks for reading, Jennifer

Thursday, 30 April 2020

ORGANIZE KITCHEN CABINETS + DRAWERS WITH IKEA


Living an organized life at home could be a daunting task for many of us.  But it doesn't have to be.  Let me show you how I organized my own kitchen and how I can help resolve this in yours.

STEP ONE - Purge Your Kitchen!  
When I moved into The Lakefront Cottage I took an inventory of all my kitchenware, utensils, pots + pans, cutlery, food containers etc.  I sifted through the stuff that I was holding onto that didn't work, want or was in rough shape into three boxes: 

1.good will
2.recycle
3.garbage

STEP TWO - Measure Your Cabinets + Drawers
This part will be a lifesaver because it will save you so much time in the purchasing process of acquiring the correct sizes.  Believe Me . . . It Works Everytime !!  
Remember to measure the width, depth and height.

STEP THREE - Reuse + New
When I unpacked my interior organizers from the move, half of them worked in our new kitchen.  I didn't get hung up on all the interior organizers matching.  Because Hey, they'll be hidden inside the cabinets and drawers.  But, I did keep the colour consistent with white.
In the end I used a mixture of reused organizers with new.


I first looked to IKEA for their great selection and price point on organizing my kitchen.  
Here are my favorites to help you get started.


 - TIP -
When you have leftover space like I did at the front of the drawer take advantage of storing small objects like my collection of tiny bowls.  Take it one step further ... use leftover drawer liner underneath so they stay in place when opening or closing the drawer.

Don't limit yourself to kitchen organizers.  I reused office pencil trays next to my cutlery tray to maximize the empty space with tea spoons and bamboo butter spreaders.


- TIP - 
Collect all your new and old organizers and play 'puzzle' trying out every configuration to maximize your drawer space.  You'll be surprised how nicely things will fit together.


If you guys have ANY questions or tips please leave them in the comments...Thanks!

Don't forget to tag me on Instagram to show us how you organized the inside of your kitchen cabinets + drawers and I'll repost it!

Photography by Jennifer Kucherka